
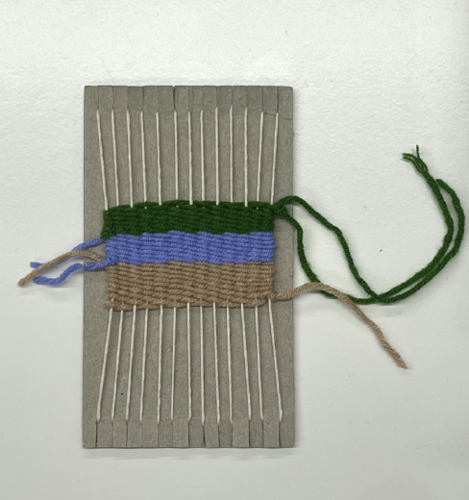
Weaving is an art form and has the power to tell multiple stories. The final artwork presents the viewer with a story in itself, but so do the materials and techniques each artist uses in the production process. Learn the basics of working with fibers–create a weaving on your own miniature loom.
Helpful words
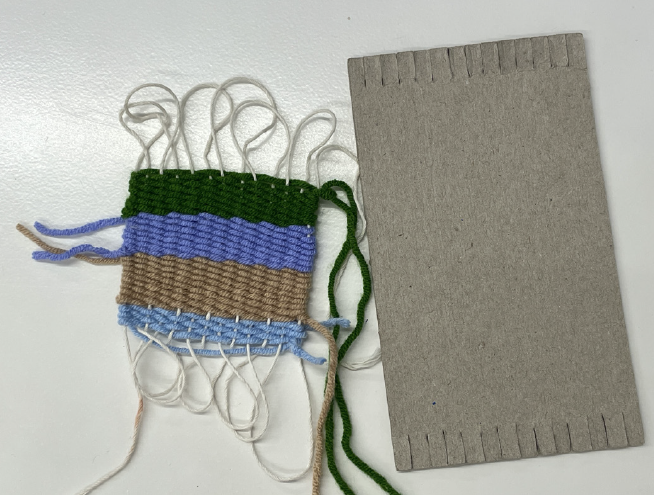
Loom
the cardboard object on which you weave
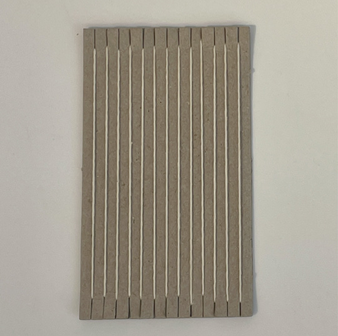
Warp
the strings that run up and down your loom
Weft
the yarn you weave from left to right
Friendly reminder
Make sure your warp is tight so that the string does not come loose!
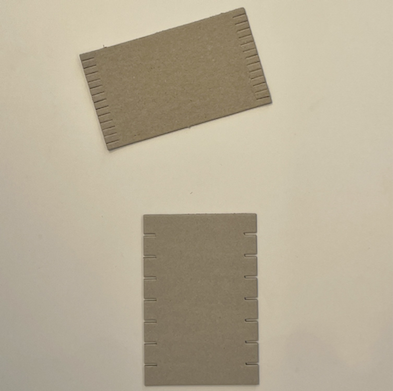
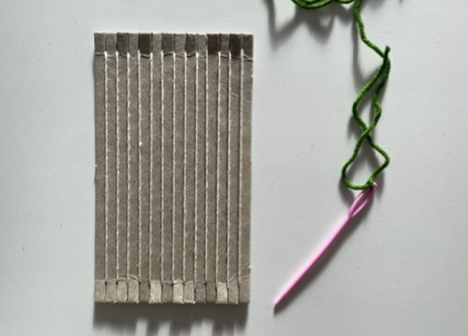
Step 1: Get Started
You'll need a loom.
Weave at home!
Follow the instructions on this website to make your own loom!
Step 2
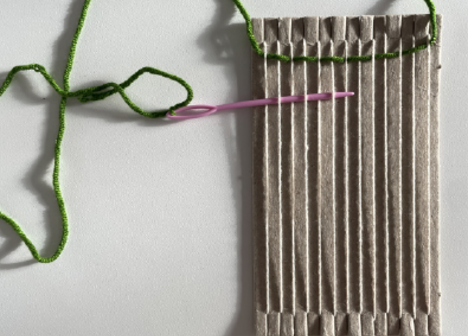
Pull a long strand of yarn for your weft and thread the end of the yarn through the eye of the needle. Then tie a loose knot around the eye of the yarn.


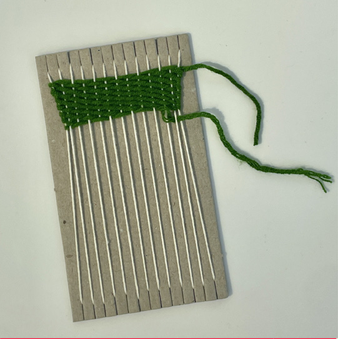
Step 3
Take the needle and begin to move it through the string of your warp.
Tuck the needle under the 1st string.
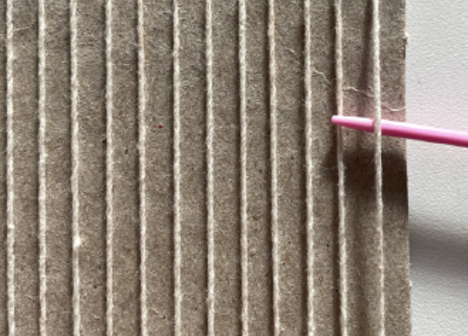
Then slide it over the 2nd string. Repeat the under-over-under-pattern.
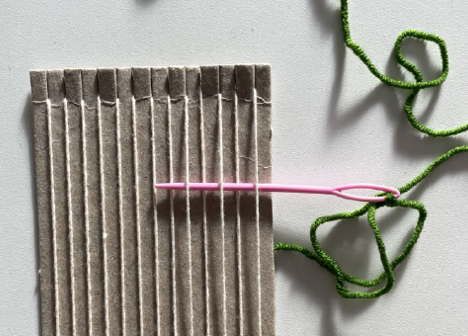
Step 4
When you reach the end of the row, pull all the yarn through. You will use the extra yarn you have pulled through to continue your weaving.
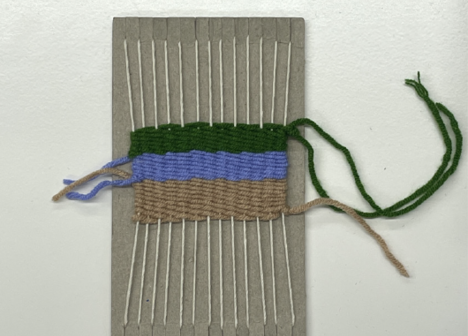
Step 5
Start your second row. Thread the needle over the first string before tucking it under the second. Repeat the over-under-over pattern untl the end of the row.
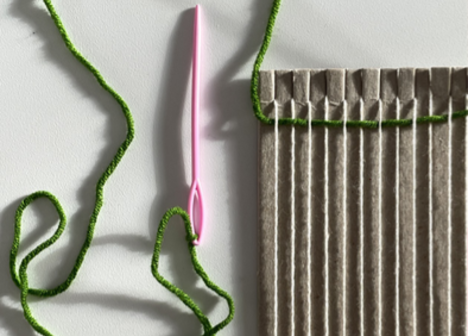
Step 6
Continue weaving by repeating steps 3-5. Occasionally adjust the rows with your finger to push the weaving into the center of the loom.
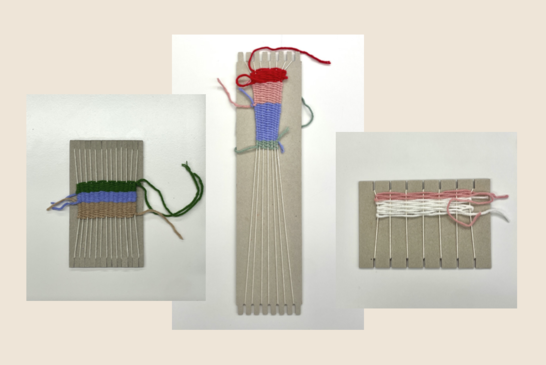
Tips and tricks
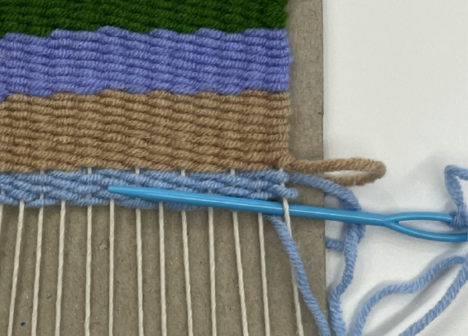
When you finish a row, pull all of the yarn through. By doing this, you will have more yarn to work with when you weave in the other direction.
If you want to use a different color of yarn, tie a knot at the end of one of your rows, select a new color of yarn, and begin the weaving process again.
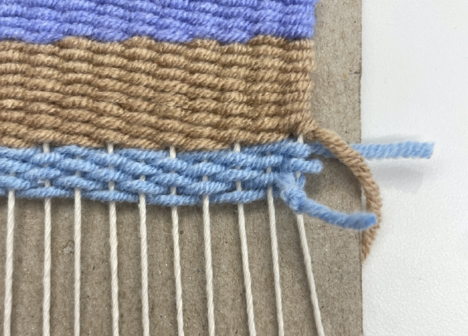
Step 7
When you are finished with your weaving, tie a knot with the remaining yarn at the end of the row you are working on.
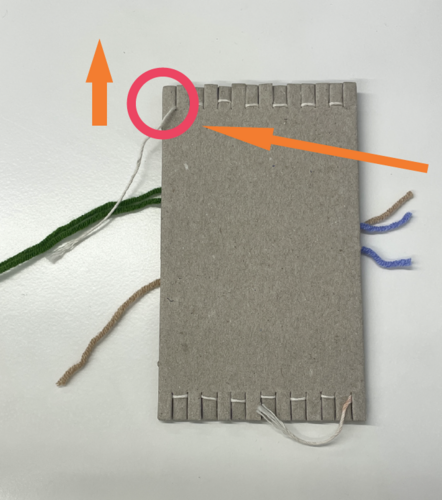
Step 8: Casting off
"Casting off" is a phrase that means finishing and removing your weaving from your loom. Sometimes casting off can be hard. If you have trouble, ask another person to help!
The teeth on this loom are close together. This means you can carefully pull each loop off of each tooth until your weaving is separate from the loom.
Start by pulling this string in the top left corner of the loom up. This will release the string from its notch.
Once you have released this string, you can loosen the looped string at the bottom of the loom and pull the loop out of the notch.
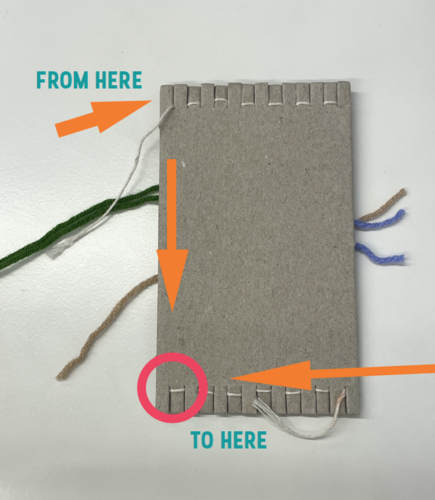
Notice how you went from the top
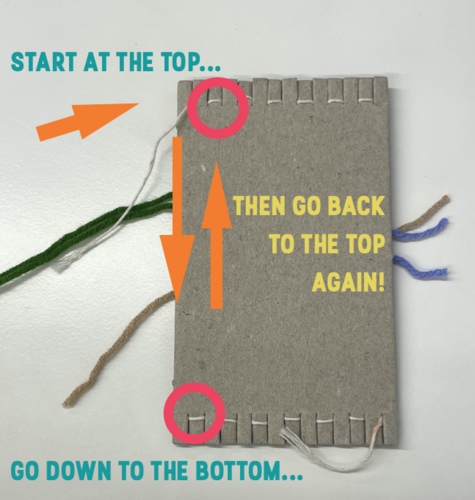
Keep following this up-down pattern! Continue until your weaving is separate from the loom.
Congratulations! Your weaving is finished.
ABOUT THE CREATORS OF THIS PROJECT
As a teaching museum, MAAM is educating and inspiring the next generation of artists at MassArt and beyond through exhibitions, programs, and engagement with our communities. This activity was developed by Emerson Holloway, MAAM's Education Administrator.
Emerson is a multimedia designer who believes that inclusive and equitable futures emerge at the intersections of creative storytelling, self-expression, and cross-cultural community engagement.
Want to keep making art? Join us for one of our artmaking events in MAAM's Barkan Family Big Ideas Studio!